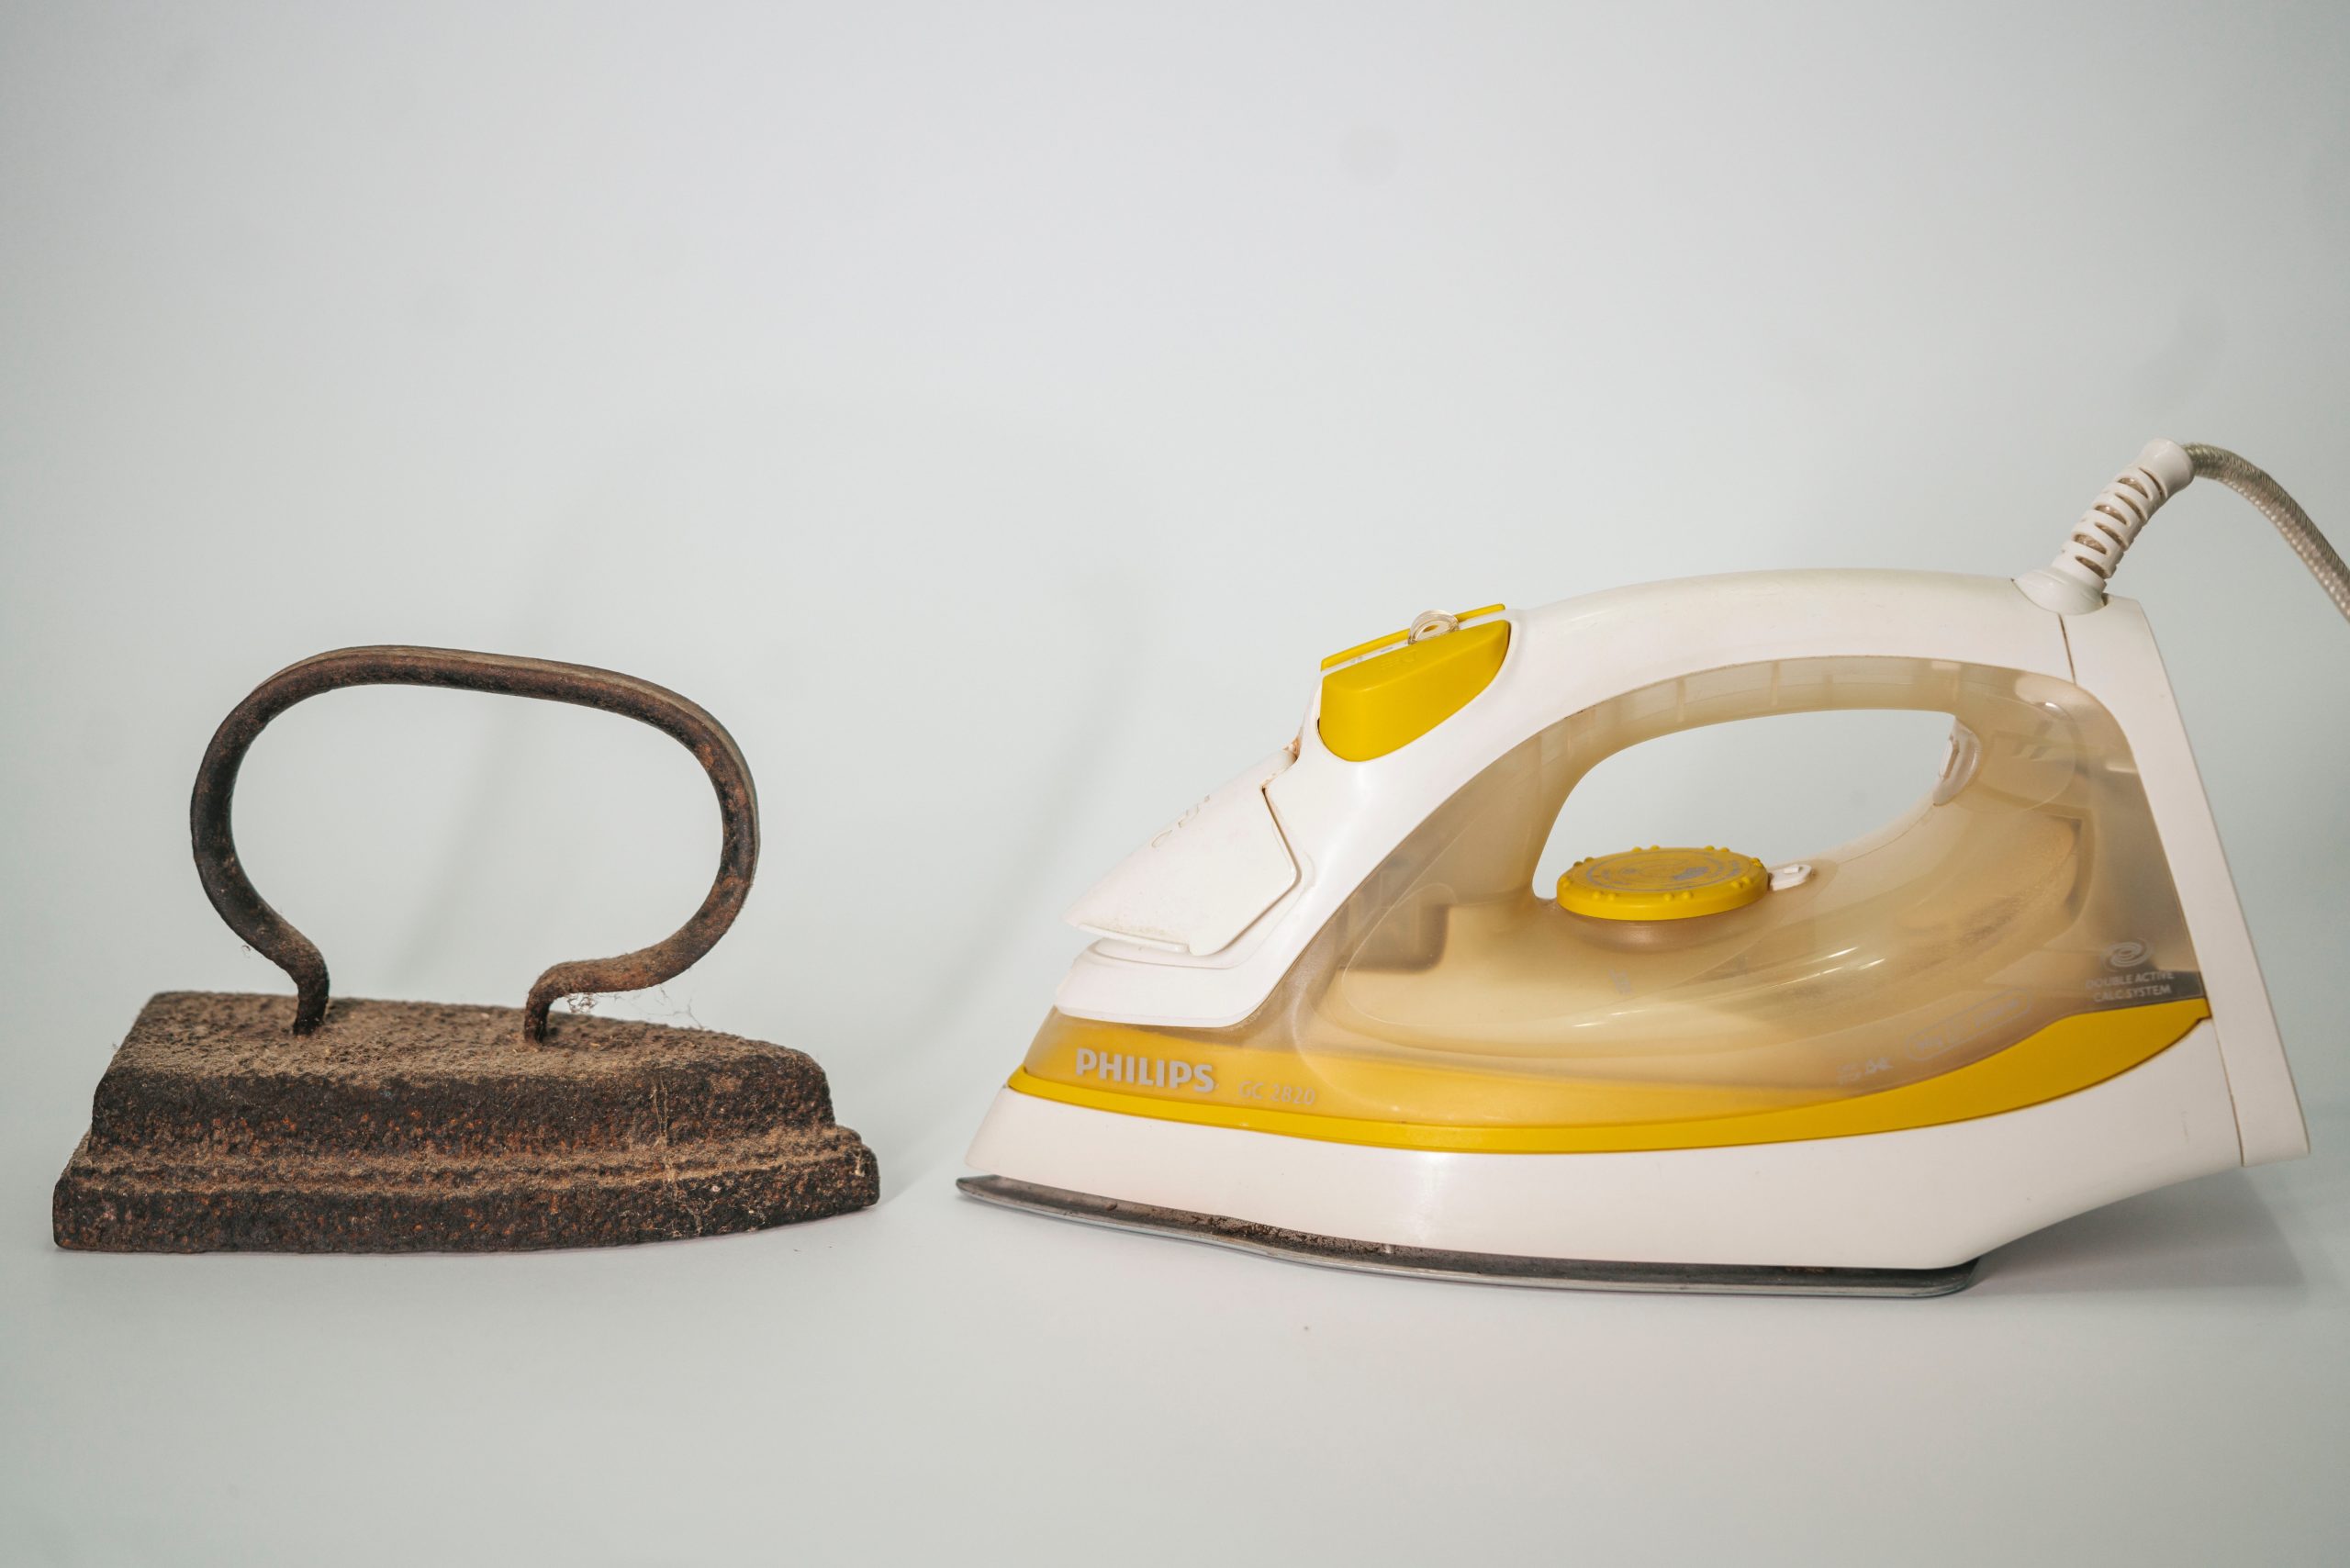
A guide to sealing mylar bags with nothing more than an iron to preserve food and DIY your food storage.
What is Mylar?
Mylar is made up of plastic and aluminum foil. The material is very flexible and light weight. It comes in different sizes, thicknesses, and colors, and is used for a variety of products. The most popular is for food packaging, but it is also used in mylar balloons (the shiny ones), and in emergency blankets.
Why Use Mylar Anyways?
Mylar keeps out air and light. It’s much better than simply vacuum sealing, and mylar is much much better than using. In terms of keeping out oxygen, according to some studies, mylar is more than 4000% effective than the plastic alternatives. The metallic film in the mylar is also both reflective and opaque, so it keeps out the light. Both of these properties make it better than food grade plastic, glass, or most other storage options.
Sealing Mylar with a Clothes Iron
Sealing a mylar bag is done by melting and fusing the plastic on the two sides of the bag together, which can be done with your clothes iron. You don’t even need a fancy machine to use it, but it does take some preparation, and you want to make sure you do it right so in an emergency you’re not in trouble trying to rely on your food storage, and find out you did it wrong and its ruined.
Getting Started
I’ve been working with Mylar bags for some time now, and have come up with a few tips. Most of the problems I had when I first started using them was due to my having no experience. Set up your work area so that you can easily move the bags from one place to another without twisting them or spilling them. Once you clean up the mess from doing that once, you will appreciate the preparation.
Fill Your Bags
Next, you’ll want to put the stuff in the bag. Make sure not to overfill the bag. With the bag open, I try to not fill more than half to 2/3 of the bag. If you’re using mylar bags with a ziplock top, if you’re able to zip the pack closed, you should be good. You’ll get the feel of it the more you do.
Fill the bag and then put it in a location where it can lay flat and straight while you get the food saver ready. I also like to use a piece of cardboard or something similar underneath the bag as I am sealing it as it can sometimes stick to the table/counter top. The cardboard helps prevent this, plus makes it easier to move around.
Make sure that your bag is not twisted in any way, shape or form before starting to seal it. Once you start sealing and pulling in air, if there is any twist in the bag it will quickly become twisted even more and make a mess of your iron and possibly your counter top/table top too!
Add an Oxygen Absorber
Turn on and heat up your iron. Make sure that all of the air is pulled out of the bag before sealing it as air just takes up storage space, then add your oxygen absorber. Oxygen absorbers are another great addition to really extend your shelf life. If you’re using mylar and not using an O2 absorber, it’s kind of like buying a really nice super car, then not changing the oil very often. Mylar is the best storage option. If you’re going to use it, you might as well do it right. If you want more information about oxygen absorbers, we have an entire article on How to Use Oxygen Absorbers.
Iron the Mylar Bag
After you have your oxygen absorber in, I like to zip the packet closed, then iron the top of the mylar bag. I like to seal about 1/2-3/4 of an inch, but the total amount sealed depends on the bag you’ve got. You can iron these on your actual ironing board, but I like to iron it on a wooden cutting board with the cardboard underneath.
Then you let it cool for about 15-30 seconds, label it, and store it.
Our Go To Mylar Bags
There are a lot of options on the market for mylar bags, but we’ve had good success with the Premount bags from Amazon. They were the most popular and highest rated option, and we’ve kept buying them.
Premount 100 Mylar Bags With Oxygen Absorbers

Keep Learning
Prepping is an ongoing venture. Because of this, we recommend that you subscribe to our bimonthly newsletter to keep prepping, emergency preparedness, and self reliance on your mind. We promise, we’re not spammy, which is why we only email you twice per month. We hope you think about being prepared more than twice per month, but our newsletter is a valuable resource to help you learn new things, and just to keep prepping on your mind. Right now you can also sign up for free. You can also follow our Facebook Page for regular articles and resources.


