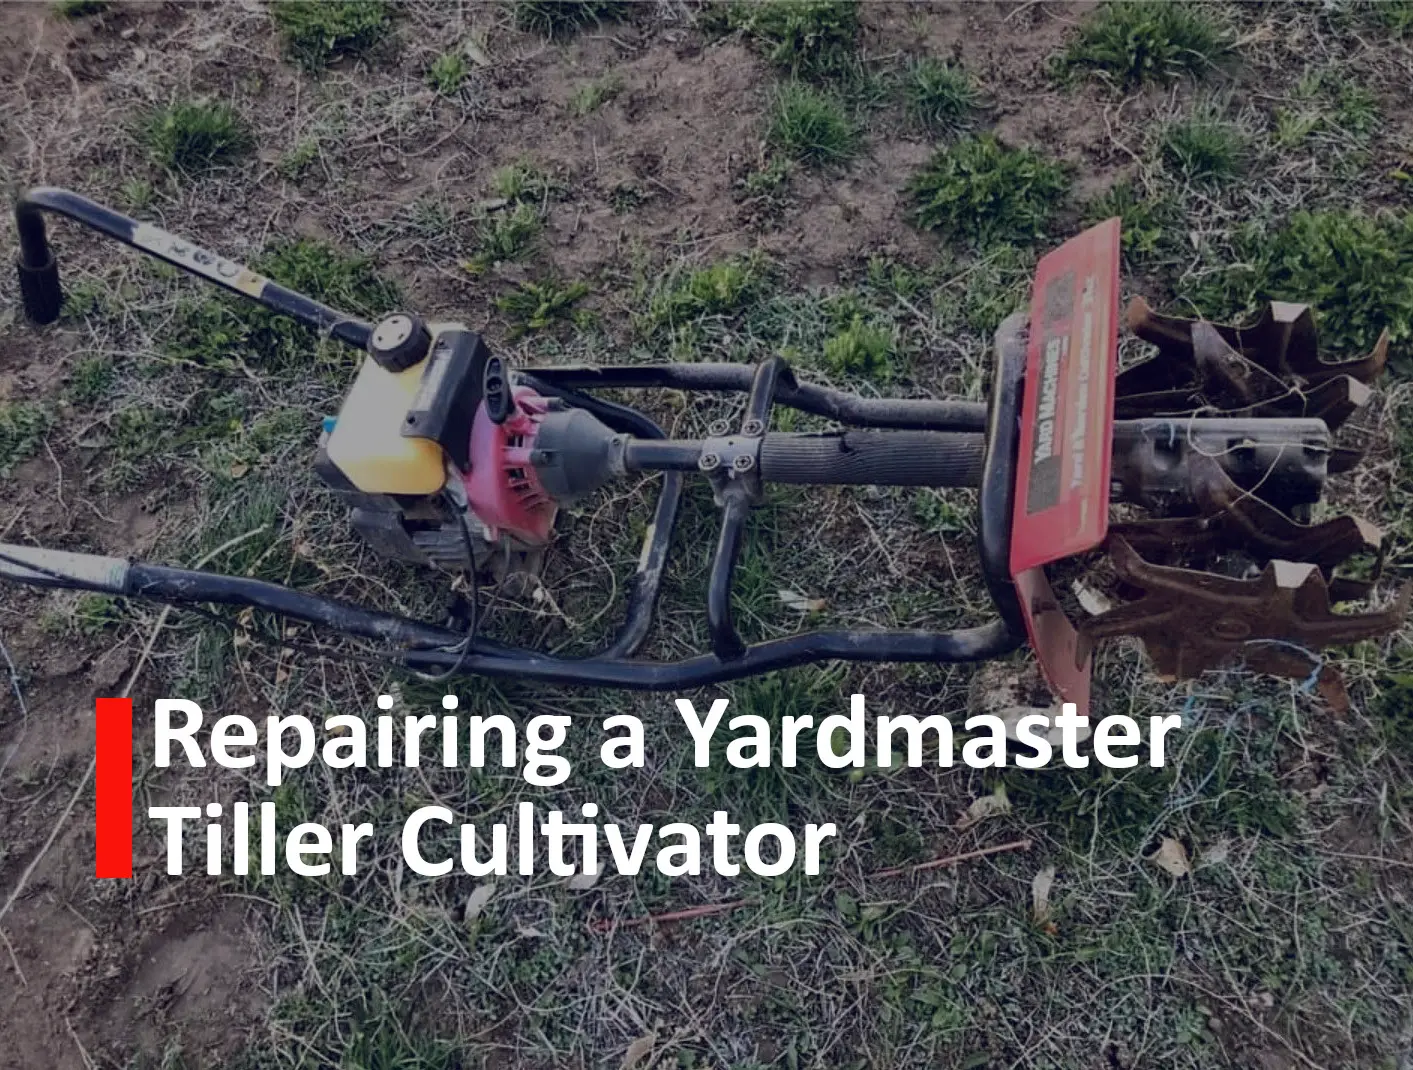
I bought a Yardmaster Tiller Cultivator off of Facebook Marketplace for $15. All he said was that he had used it the previous year. It was a good deal, and I was anticipating having issues with it because it was a $15 tiller, and it didn’t disappoint me. I ended up having issues with the gas lines, gas tank, carburetor, and other aesthetic features. Repairing the Yardmaster Tiller Cultivator had its challenges because some of the parts are considered obsolete and are no longer in production, or they’re stupid expensive. It’s a relatively simple machine though, and I was still able to get it working and make things work.
The Motor on a Yardmaster Tiller Cultivator
This tiller uses a 121R motor which is a 2 stroke engine and runs on mixed fuel at a 40:1 ratio. It’s a small 31cc motor, the same size as one used on a weed Wacker or weed eater. It’s small, and isn’t a machine that will tear up the whole garden in 5 minutes. This is a good machine for a small garden bed, or for tilling up already relatively loose dirt. I guess if you’ve got time on your hands, you can get after a harder plot, but this tool isn’t designed for that.
Carburetor Kit

It’s not too hard to clean a carburetor, but if you need any gas tubing or a fuel filter (which I recommend), it only costs about $5 more to get a new carb, primer bulb, air filter, and spark plug. I like to buy a new carb, keep the old one and clean it at my convenience, and have a good spare ready to go.
Replacing the carburetor on one of these is surprisingly easy. It’s just a matter of removing a couple screws, and plugging in a couple fuel lines. Do not be intimidated by this. It is super DIY friendly. On top of that, there are a ton of videos on the internet that walk you through how to do it. I’ll put a button to link to an example of one below. The first time I did it, I watched one video and had no problems.
Repairing the Fuel Tank on a Yardmaster Tiller Cultivator
The top of the fuel tank was starting to crack. I thought I’d taken a “before” picture of the cracked fuel tank, but I didn’t, so I’ve only got “after pictures. Sorry about that. The fuel tank is considered an obsolete part and is no longer in production. I could have tried to Frankenstein another fuel tank in there, but I figured I’d try to repair the original one first.
The plastic on the fuel tank felt like HDPE, which is the same plastic used in 5 gallon buckets, milk jugs, and kayaks. I have worked with this material with Kayaks. You are actually able to Plastic Weld HDPE, so that’s what I decided to try first. My plan B was to epoxy the crack if this didn’t hold, but if it was HDPE as I suspected, epoxy has a tendency to chip off of HDPE, and I didn’t want to have it coming off the first time I went to use it.
Plastic Welding the Gas Tank
The plastic of the fuel tank started off as a translucent white/clear plastic. Milk jug plastic looked pretty similar, and, as I mentioned, is the same material. The first thing I did was cut strips out of the milk jug plastic (Ok, first I chugged the last 2 cups of milk in the jug and gave it a rinse). Then I put a couple strips on a cookie sheet along with the fuel tank and put it in the oven. If you’ve got parchment paper, I would recommend using it. I preheated the plastic at 350. This was almost too hot, so I’d recommend 325. Melting point for this plastic is a bit higher than that, but I was just trying to get the plastic up warmer so the plastic welder didn’t have to do as much work.
I had my plastic welder preheating while I was heating the tank and milk jug strips in the oven. In order to get it to weld properly, you need the plastic of the gas tank to mix with the plastic of your milk jug strip to get a good permanent fix.
I pulled the gas tank and strip out of the oven and first just further heated the cracked area with the welder without adding the milk jug strips. You can sometimes seal the plastic just by doing this if the crack is pretty close together. Mine was pretty close together, so I think this would have been enough. Be very careful when doing this. If you’re not adding any new material its really easy to melt all the way through the plastic and melt a big hole into your gas tank. I’ve seen it done on kayaks several times.
Plastic Welder

After I had heated the crack pretty much closed, I laid the strip of milk jug down and started melting it into the top of the tank. It blended well with the other plastic and gave further reinforcement to the seam.
After this I gave it a light sanding. I wasn’t trying to make it pretty or anything, but a sharp edge can get caught on something, and if my weld wasn’t strong enough, I don’t want it to get snagged off of the gas tank. I then filled it up with water and did an old plumber trick- I dried off the outside while it was full of water and put it on a strip of toilet paper. If there is any water dripping, the toilet paper will show it when I go to check. I then left it there for several hours. I came back, and there were no leaks. The main crack was fixed.


Gas Cap not Sealing Properly
I got the tiller all put together and fired it up and noticed gas was coming out from the gas cap. Upon closer inspection, I noticed that the top of the gas tank was warped. To fix this I ended up having to plastic weld more plastic material into the low part. I then sanded the entire top of the opening flat so it could get a good seal. I then needed to add more gasket material. The flat connection was good, and slowed the leak, but didn’t stop it 100%.
You can actually buy gasket material. It comes in a sheet, like a thick sheet of paper. I put 3-4 layers of gasket material and I got it to seal pretty well. It wasn’t 100% sealed, but it’s about 99% sealed. The top of the gas tank will be oily and damp when I’m done tilling, but it doesn’t drip while I’m using it any more.

Other possible problems
Honda Tiller Starts but Dies When I Start Tilling
I had a Honda I once repaired that would lose power once it was under a load (when I started tilling dirt). That one needed the clutch replaced. The clutch was pretty inexpensive for that as well. If you’re experiencing this, clean the carb first, or buy a new one, check your gas lines, and then you may want to replace the clutch.
Leaky Fuel Lines
If you’ve got leaky fuel lines on your Yardmaster tiller cultivator, that’s an easy repair to make. Fuel line is pretty inexpensive and pretty quick to replace. Pull one off, and put another on. Fuel lines are rubber and can deteriorate, especially if stored in direct sunshine.
Keep Learning
Prepping is an ongoing venture. Because of this, we recommend that you subscribe to our bimonthly newsletter to keep prepping, emergency preparedness, and self reliance on your mind. We promise, we’re not spammy, which is why we only email you twice per month. We hope you think about being prepared more than twice per month, but our newsletter is a valuable resource to help you learn new things, and just to keep prepping on your mind. Right now you can also sign up for free. You can also follow our Facebook Page for regular articles and resources.
Knowing how to repair a device, and having basic mechanical skills is crucial for preppers. To learn more skills, see our list of Best Books for Preppers.